So, I decided to put this together to show just how it more or less works.
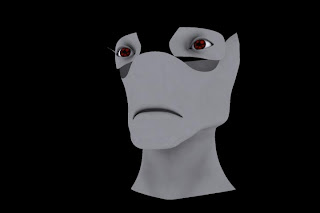
First, this is the basic model for the face of the Titan, it's unlit at this point and looks pretty dull and flat, but you can see the basic structure of the model.
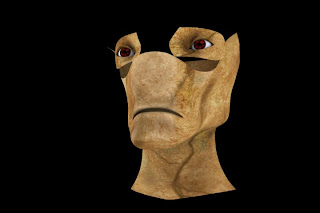
And here it is with the texture, while it looks better, still not terribly impressive because there's still no lighting, nor does it really have any depth to it.
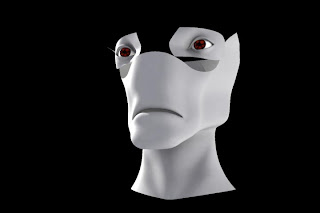
 So here with some actual lighting, you can see a bit more of the details of the model. Here you can really see how smooth the mesh of the model is, doesn't really make him look like he's made of stone.
 And now with the texture again, looks much better, still a little flat though.
 This here is what's called the "bump map" and it's pretty much what it sounds like. It creates bumps and whatnot to make it looks like there more detail to the actual model. This is faked though so while it gives the illusion of detail there still really isn't any.
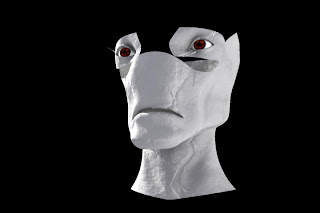 The texture and the bump map combined make it look much better. Now this is the stage I've been at for the longest time, still not 100% thrilled, it was missing something. Since he is supposed to look like he's made of stone, the actual model itself needs to be a little more jagged and whatnot.
 That's were this comes into it. I just started playing around with this, it's kinda techincal, but bascially it's this; it's called a "displacement map" which again is pretty much how it sounds. You take a black and white image, the black part will appear sunken, while the white appears more raised - this effects the actual model. And combined with the bump map (which it is in this picture) is gives a much more detailed and stone-like effect to the model.
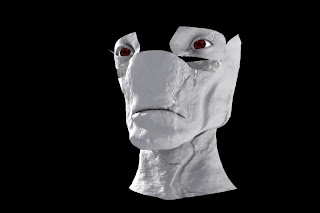 So now we end up with this. This is everything combined, the texture, bump, and displacement maps as well as the lighting gives it a much more realistic look - as well as a stone faced looking giant statue god kind of thing can be realistic.
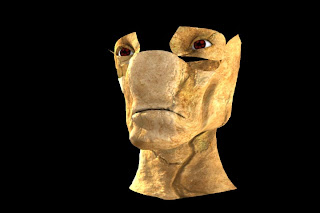
And these are the 2 images used to do all this, this is the bump map, also used for the displacement map as well.
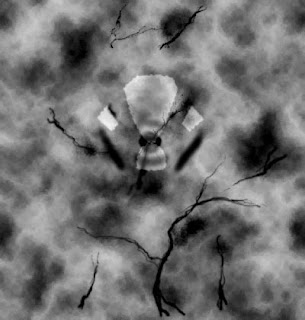 And the actual texture, or diffuse map.
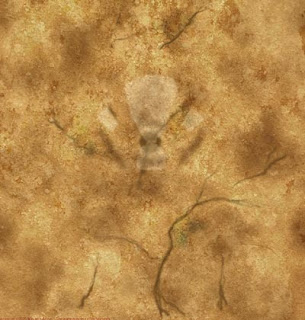
This isn't the final version, you can see in a few place a couple problems that still need to be worked out in the the displacement and bump maps. I'll probably do another version of both maps and try to get a more stone-like appearance out of it. And more dramatic lighting would help, however that's not an option in this character's case since he has to match footage shot in broad daylight.
This is the process each character model will go through before it's finally animated and added into the final movie. In some case certain set pieces will use the displacement map as well to simulate more detail. The main reason being, if you tried to model this kind of detail it'd take forever, probably bugger up a million times over and would just be hell to animate - ultimately unless you're a real pro at this, it would never quite look the same and probably cause your computer to crash just by looking at it.
That's it for now.

No comments:
Post a Comment